Adjust and glue in the rock modules
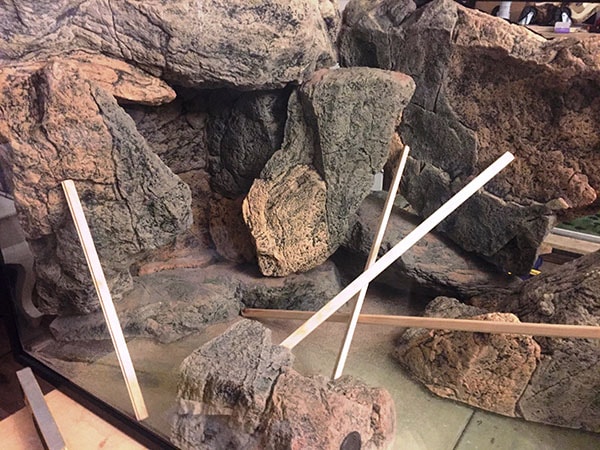
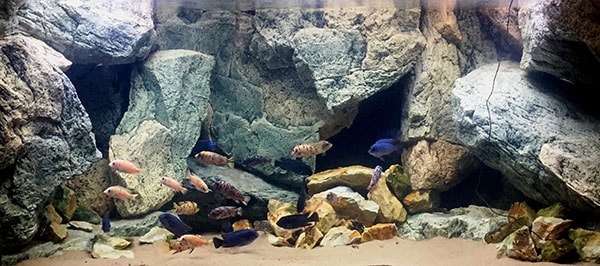
Glue in the the rock modules and adjusted if necessary. The easiest way to cut rocks is with a jigsaw. Afterwards, the glue joints are pressed off with sand. Wait for 12 − 24 hours until the silicon has cured. Then you can start up the aquarium. Enjoy yourself-designed Back to Nature rock biotope!
Arrange and fix the rock modules step by step
Depending on the taste and requirements of the aquarium inhabitants to be cared for or the rock biotope to be landscaped. Glue in the rock modules piece by piece into the aquarium. In the individual adhesive steps, the fully installed modules can be fixed in the final position with wooden strips or filter foam strips. This is how you work step by step building your individual rock biotope. Hanging rocks with underlying shadow zones create a particularly beautiful 3D effect with depth effect. If a rock is too big – no problem – it can also be divided into two or more pieces and installed.
Tip! Cut openings in non-visible areas in rocks that are glued to the discs or slimline plates. Fish like to use the rocks as retreats and sleeping places.


Complete the finished Back to Nature decoration with aquarium ground and some real rocks.
Back to Nature products are exclusively colored with natural pigments. Combine some natural rocks with the same color with our rock modules. A few additional bits of rock distributed in the aquarium are then the finishing touches to creating a natural rock biotope.
The aquarium can now be filled


Your individual rock biotope is ready to enjoy
Our products can be used immediately without pretreatment.
